
Advertisement 
BY CAPTAIN DANIEL LABARBARA
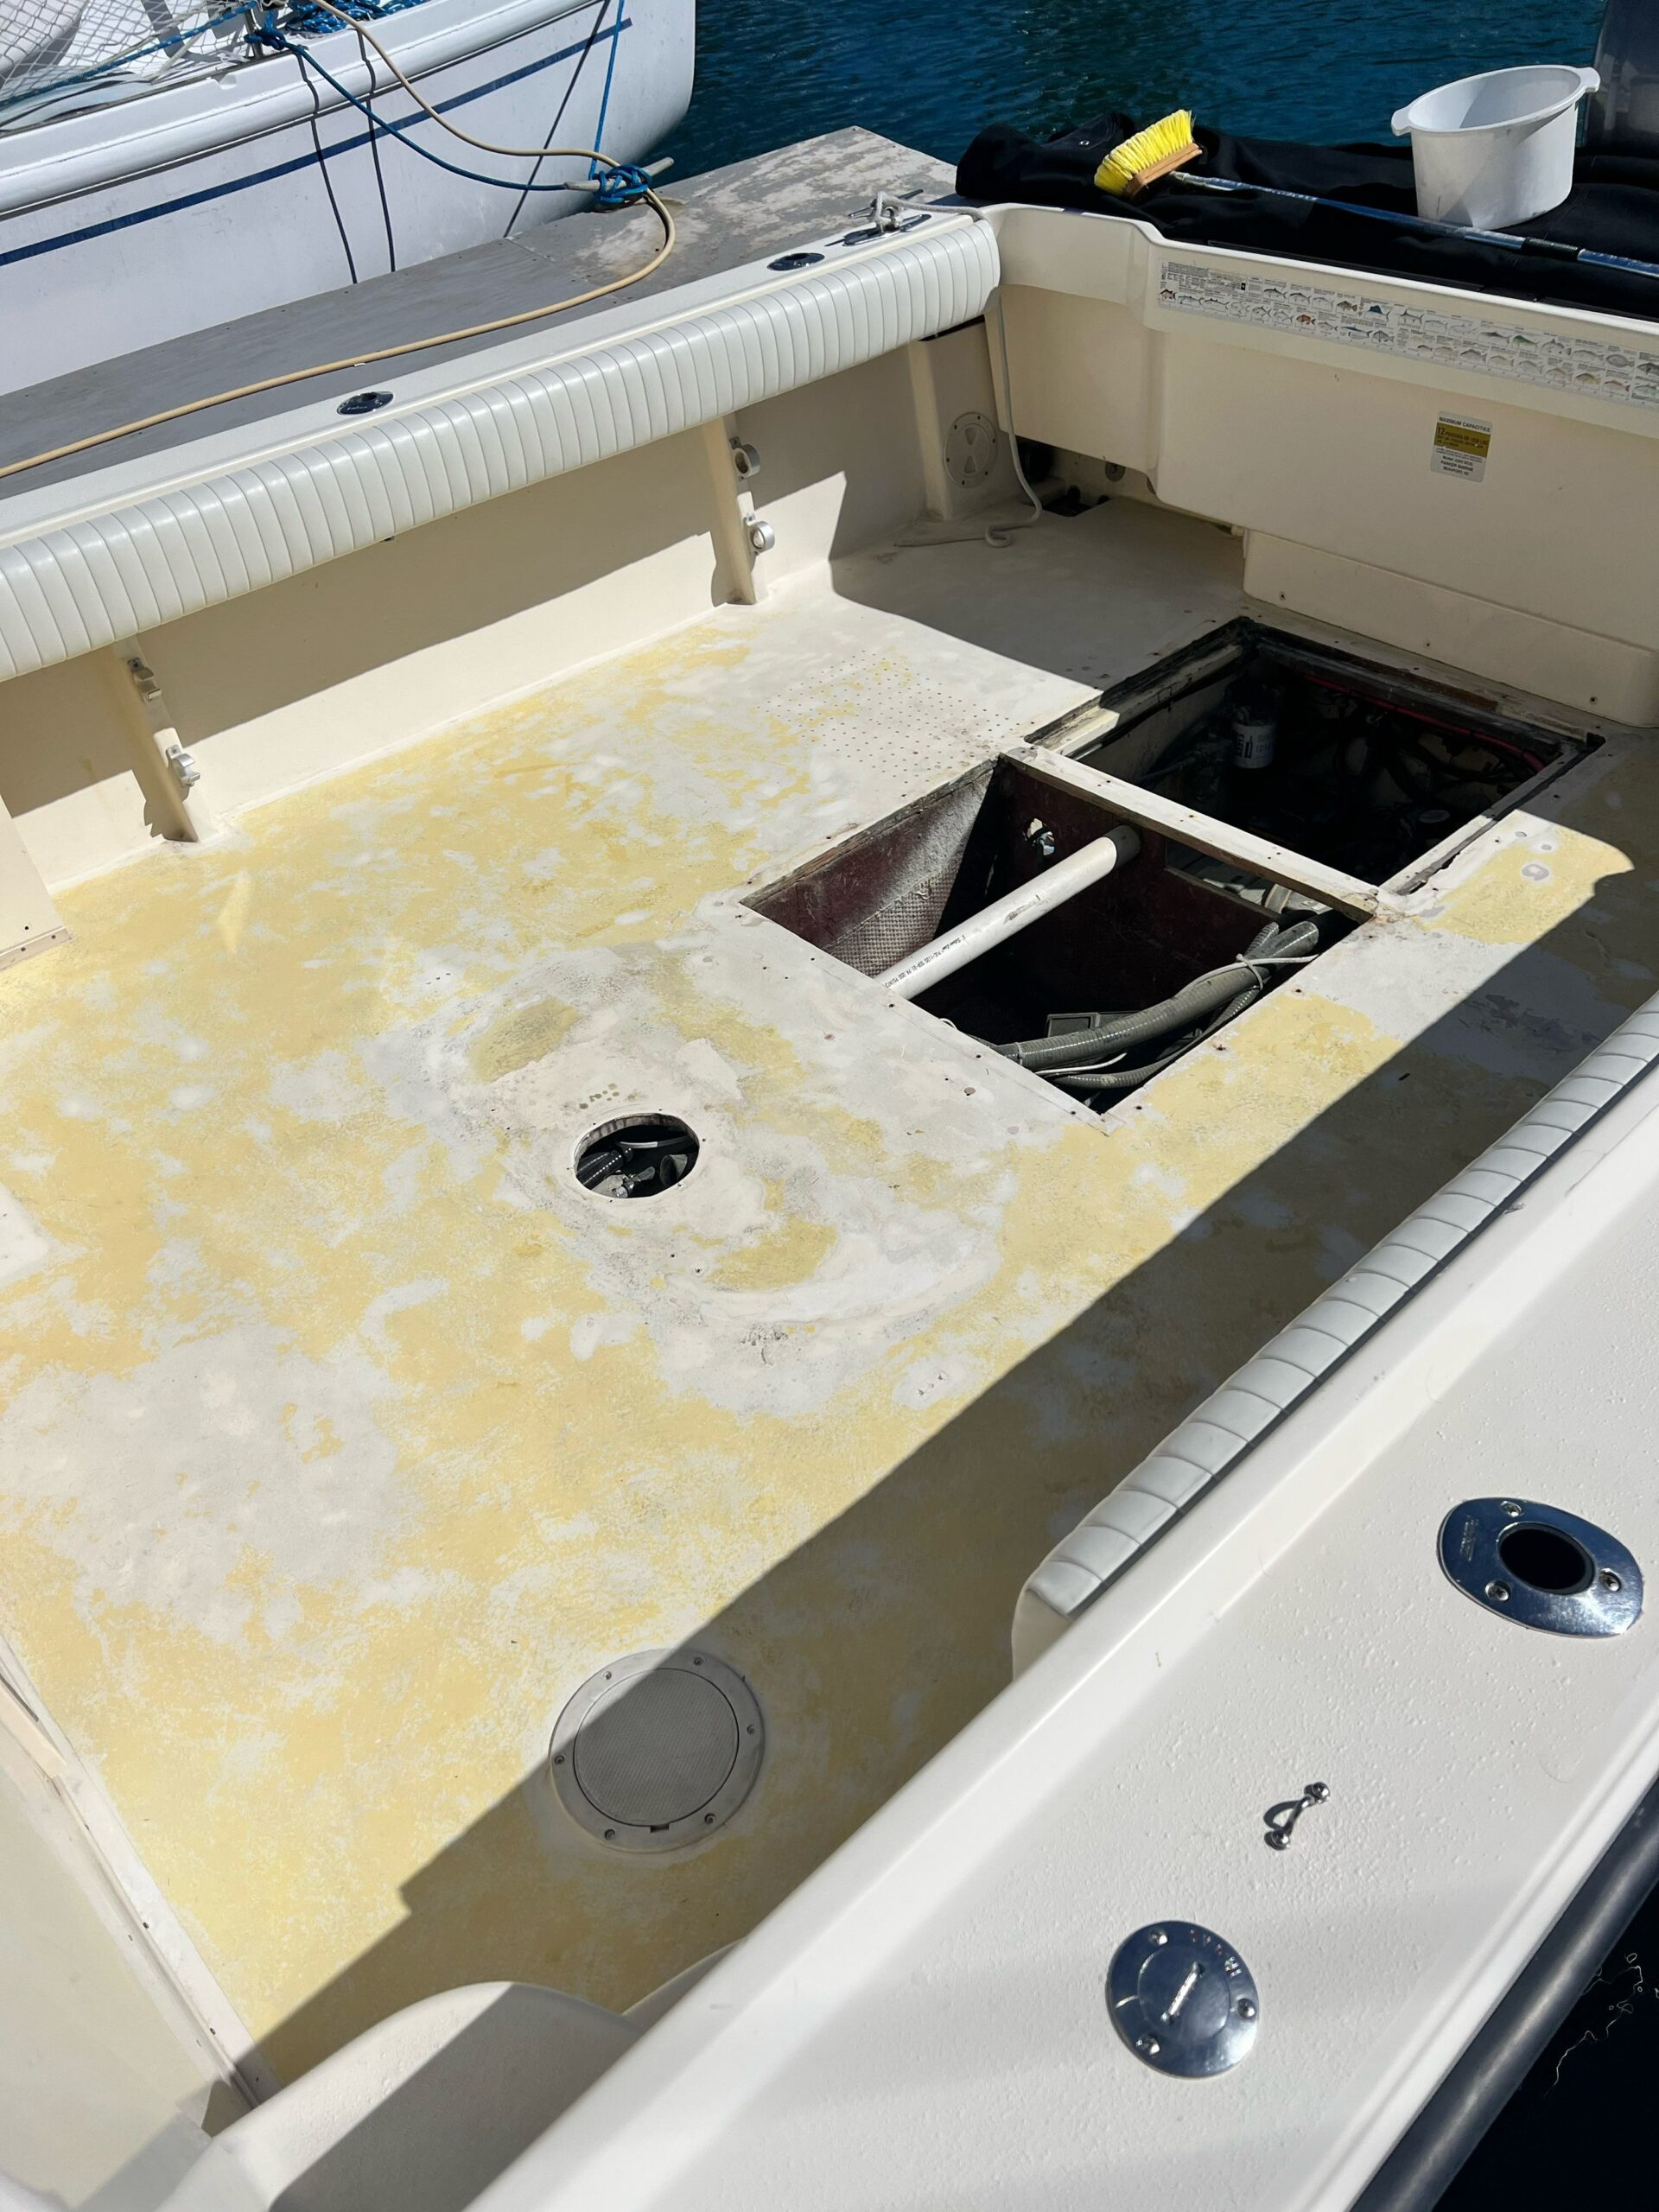
DANA POINT – During this off–season, I decided it was time to to re-nonskid the deck of my four passenger charter vessel, Second Chance. With high levels of traffic from customers, the non-skid paint applied before I owned the boat was in bad shape. The color was off and not pleasant to look at.
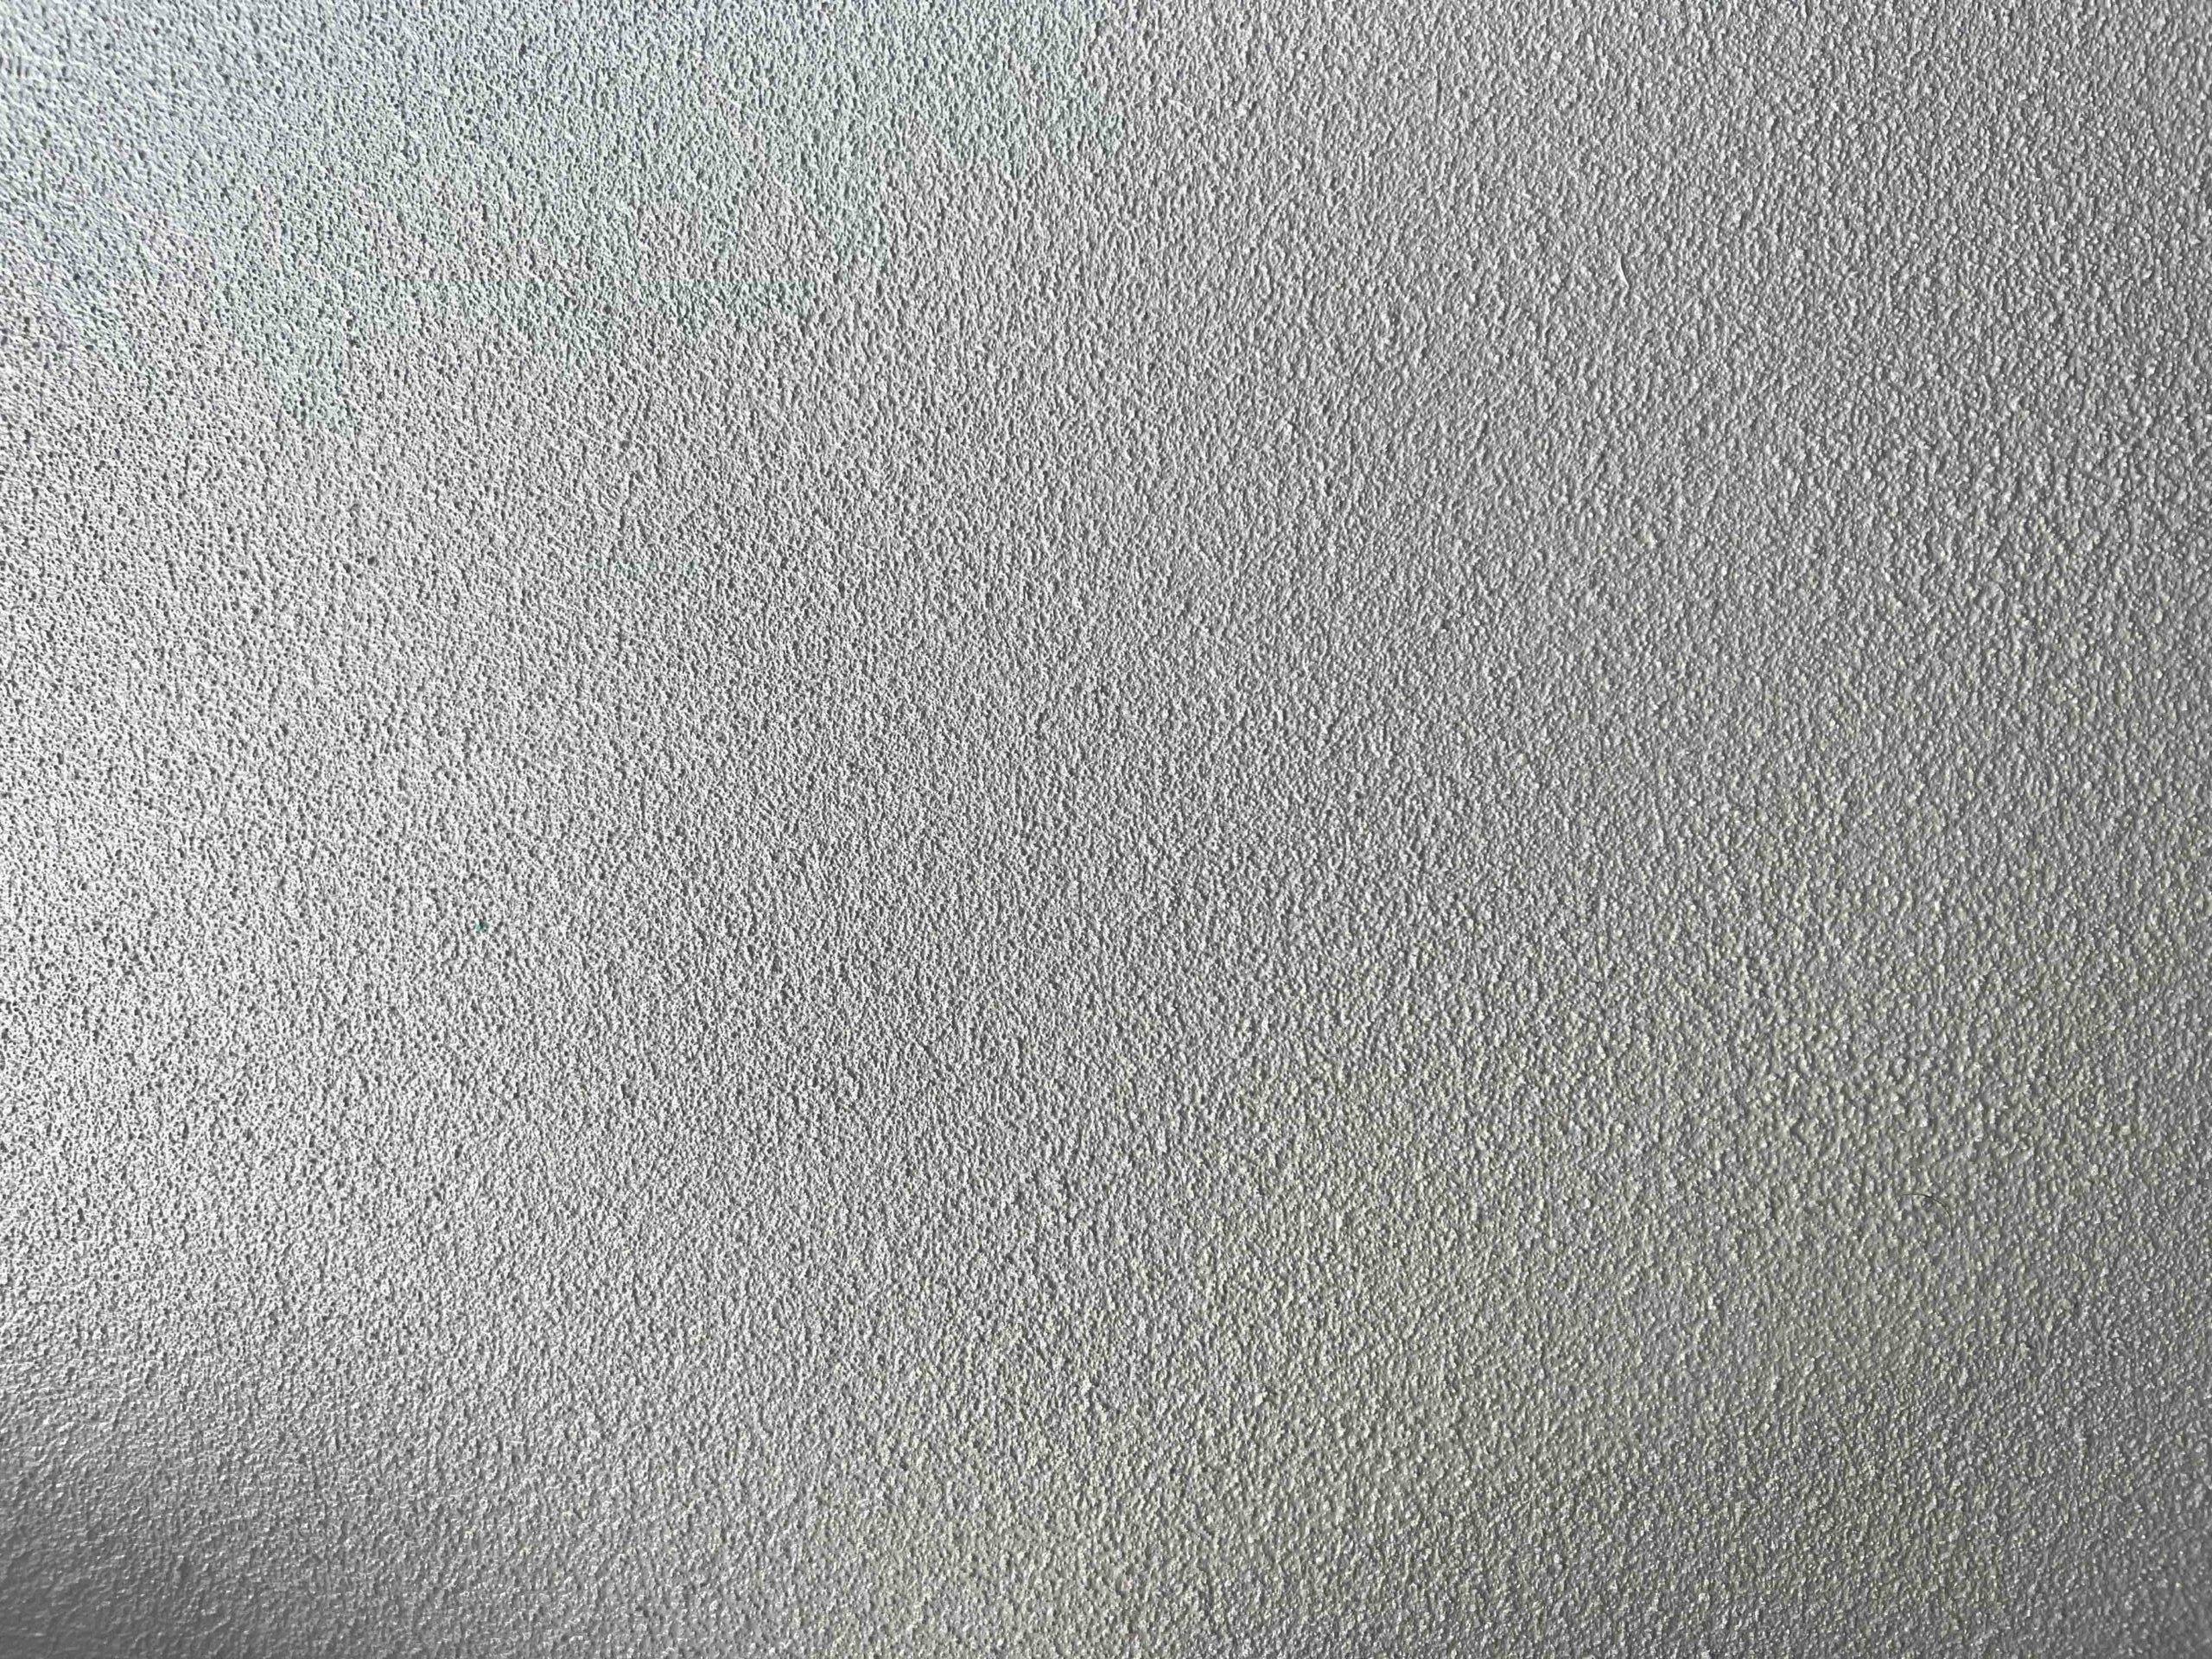
I wanted a clean look that was going to hold up to the constant use. After researching products and techniques, I finally settled on using an industrial Sherman Williams product: Pro-Line 4800 in pearl grey. This two-part paint would provide the durability and finished look I desired.
Bellow is a quick list of my procedure, and remember preparation is most of the work involved in any paint project:
Advertisement 
PREPARATION
- Remove everything from the deck. Hardware, hatches, trim and bait tank.
- Cover the area you’ll be preparing with plastic drop cloths to minimize cleanup
- Sanding with 40 grit and a dual-action sander worked best for my application. You may need to go more or less aggressive depending on your situation. Use of a mask and paint suit is recommended. This is going to be a messy job.
- Clean the area. Vacuum, scrub and wash all debris and dust.
- Tape area where you don’t want paint.
- Wash and dry non-skid media. I used regular 20 grit sand.
PAINTING PROCESS
- Mix your paint per instructions. There’s usually an induction period which gives you time for the next step.
- Use acetone to completely clean/de-grease the deck.
- Paint with a roller per paint instructions. I used a 1/4-inch nap roller for the first few coats. For my application, I wanted there to be smooth areas around bait tank and hatches for adequate drainage. Therefore I painted the entire deck and let set up for 24 hours.
- Depending on paint used, there is a re-coat period in which you do not need to sand between layers. Know this timeline!
- Tape off areas you want smooth (see below)
- Lay down a second layer of paint and completely cover with non-skid media. I used 20 grit sand that I washed and dried prior. You can purchase prepared products for this step such as Soft Sand.
- Be sure to completely cover all wet paint with a layer of sand. Let paint dry so that you can run the shop vac over the sand. This will remove all the loose sand on top. Sweep deck as well to ensure all loose sand is removed.
- The seal coat will take approximately double what your original coat did due to added surface area of sand. Keep that in mind.
- Apply the seal coat of paint over sand and let set up. I used the 1/4-inch nap roller for this coat as well.
- On your final coats, use a foam finishing roller to apply paint. This will give the smoothest results. The more layers the less aggressive the non-skid will be.
- Remove tape and touch up areas if needed.
Advertisement 